Samsung Galaxy A70 screen replacement: Easy 2025 Guide
Why a Broken Screen Doesn’t Mean a Broken Phone
Samsung Galaxy A70 screen replacement is a common repair that can restore your device to full functionality, whether you choose to do it yourself or hire a professional. Here’s what you need to know:
- DIY Cost: $12-$115 for parts, 1-3 hours of your time
- Professional Cost: Competitive pricing with same-day service available
- Tools Required: Heat gun, opening picks, Phillips screwdriver, spudger, suction cup
- Difficulty Level: Moderate – requires careful disassembly of 24+ steps
- Screen Types: OLED or LCD, with or without frame
- Key Challenge: Strong adhesive and delicate components require patience
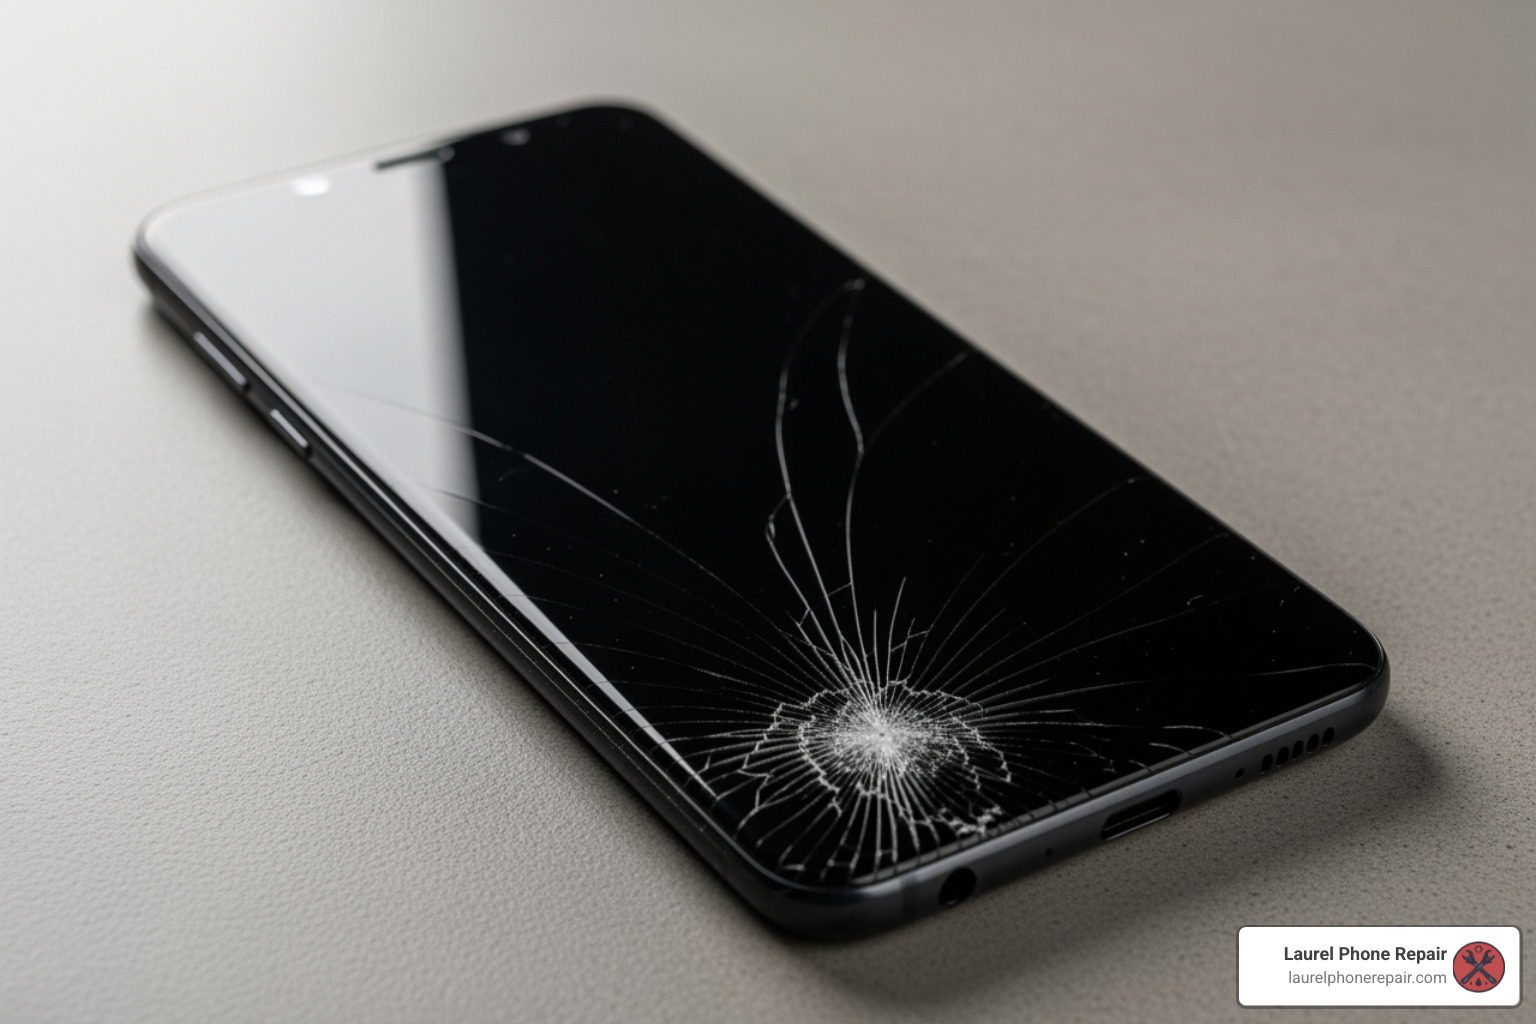
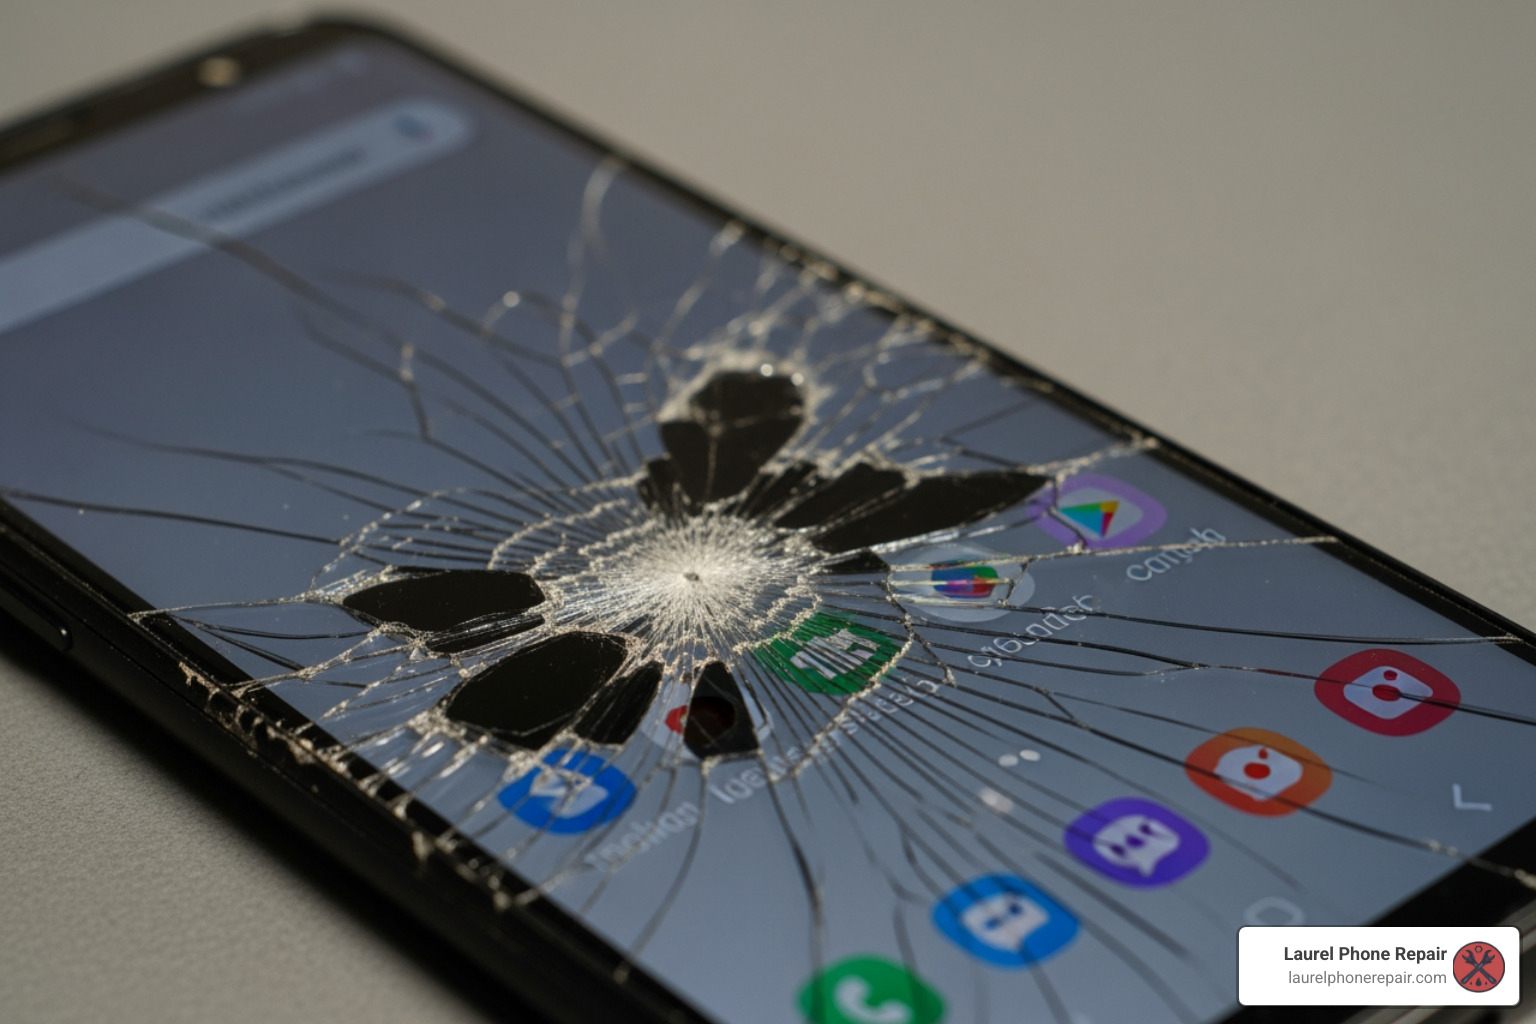
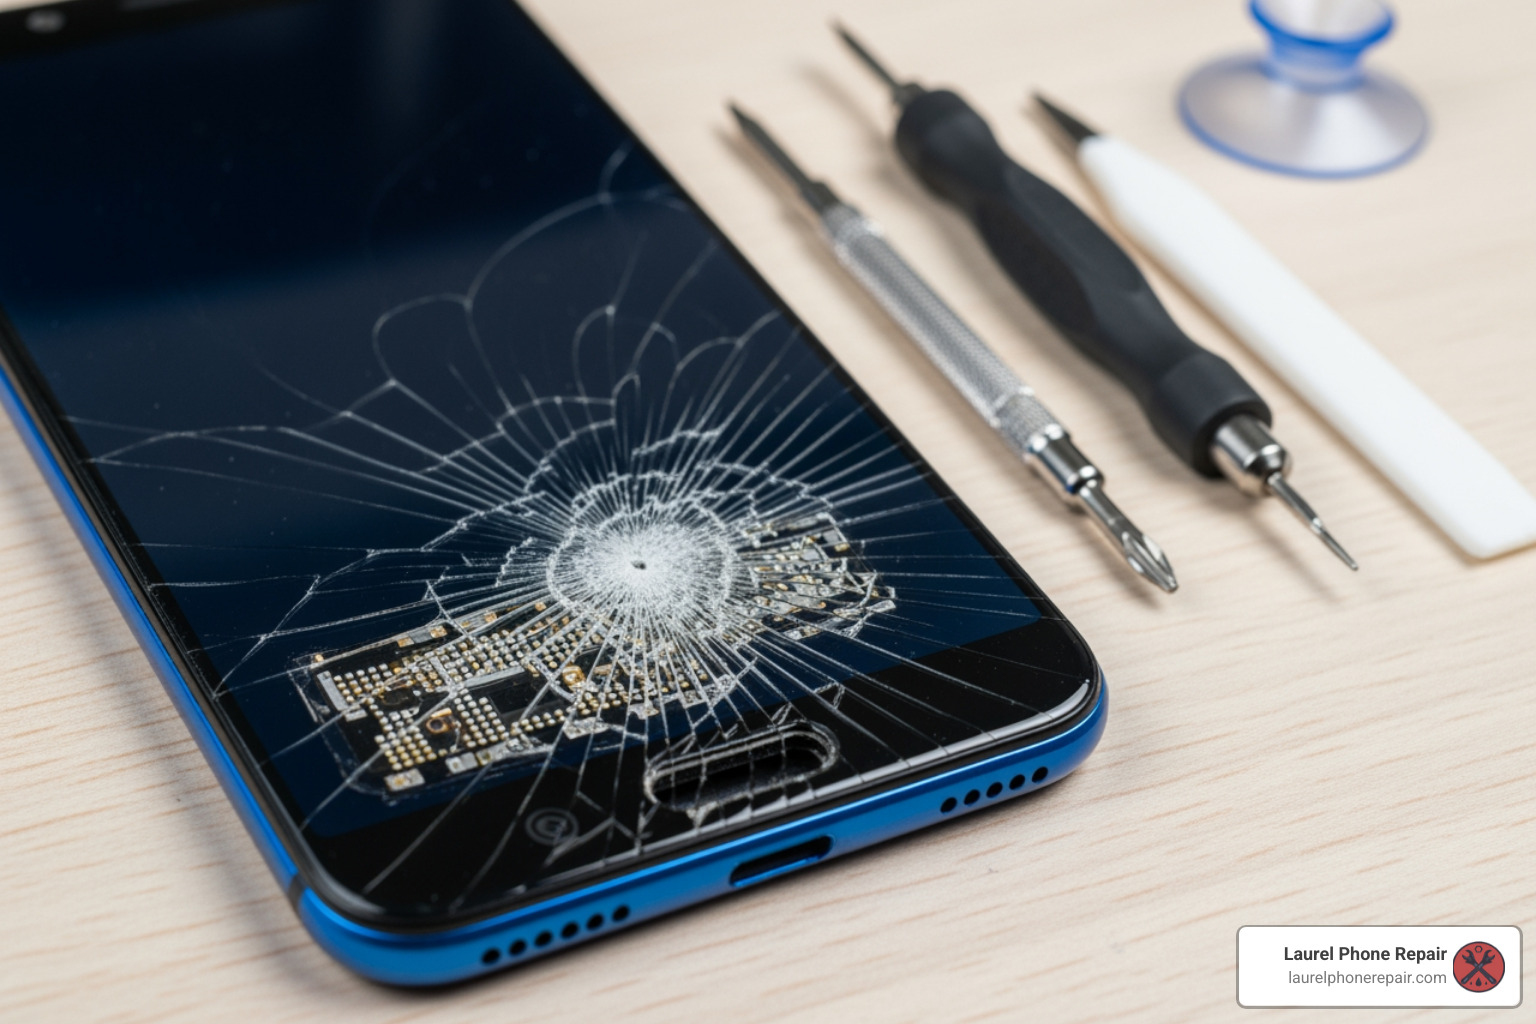
A cracked screen is frustrating. Shattered glass can cut your finger, or the display might show lines, black spots, or be completely unresponsive. The good news is that the Galaxy A70’s screen can be replaced, and you have options.
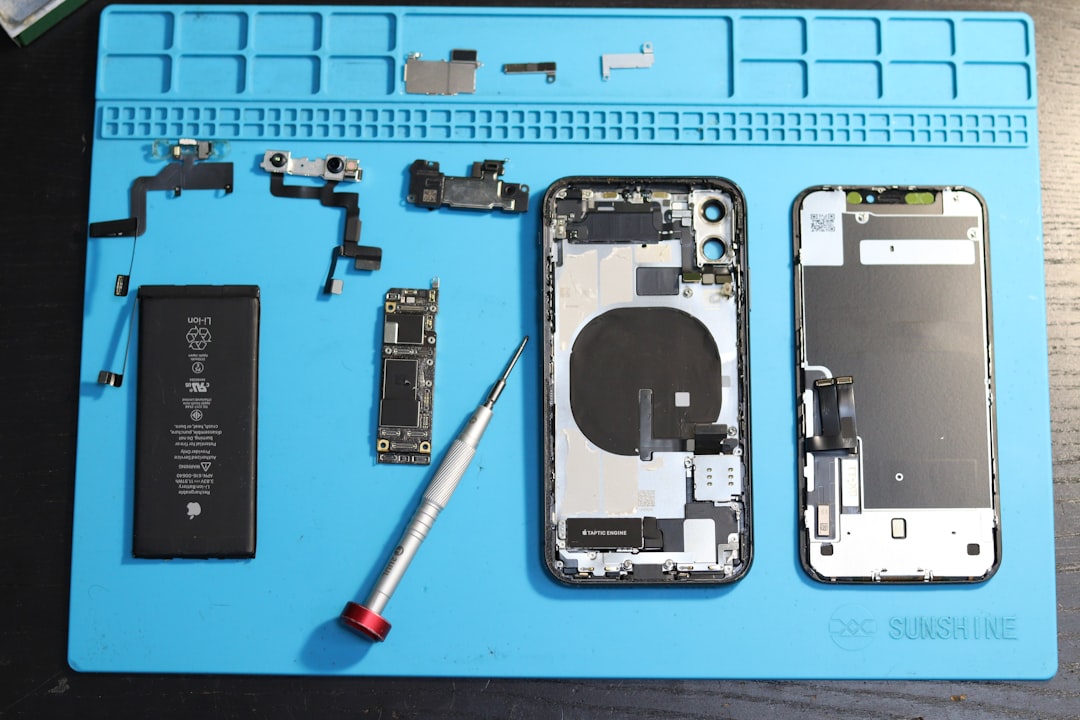
The Galaxy A70’s plastic back cover makes it easier to open than many glass-backed phones. However, the screen is attached with strong adhesive, and the repair involves disconnecting the battery, removing the midframe, and transferring components. It requires the right tools, patience, and attention to detail.
I’m Ralph Harris, and with over 20 years in electronics repair and more than 500 Apple repair certifications, I’ve guided countless customers through Samsung Galaxy A70 screen replacement decisions and repairs. Whether you tackle this yourself or choose professional help depends on your comfort level with delicate electronics work.
, key steps (discharge battery below 25%, remove back cover, remove midframe with 14 screws, disconnect battery, remove old screen, install new screen, reassemble), time required (1-3 hours DIY vs under 2 hours professional), cost comparison ($12-115 parts only vs professional service pricing), and safety warnings (battery puncture risk, heat damage to AMOLED, maintain proper adhesive for water resistance) - samsung galaxy a70 screen replacement infographic infographic-line-5-steps-blues-accent_colors")
How to Know If Your A70 Screen Needs Replacement
Before diving into the “how-to,” let’s determine if a Samsung Galaxy A70 screen replacement is what your phone needs. Sometimes, a display issue is a minor glitch, but often, it’s a clear sign that a new screen is in order.
Here are the common issues that typically require a screen replacement:
-
Physical Damage: This is the most obvious one. If your phone took a tumble and now has:
- Cracks or Shattered Glass: Even minor cracks can spread, compromising the screen’s integrity and making it unsafe to use.
- Deep Scratches: While not always requiring replacement, deep scratches can impair visibility and user experience.
-
Visual Malfunctions: Sometimes the glass is fine, but the display itself is failing. These can include:
- Black Spots: Dark blotches on the screen, often a sign of damage to the AMOLED panel.
- Colored Lines: Vertical or horizontal lines (green, pink, white) that don’t go away, indicating internal display damage.
- Dead Pixels: Tiny black or colored dots that remain static.
- Flickering Screen: The display constantly flashes or dims, making it difficult to use.
-
Touchscreen Issues: The visual might be perfect, but your phone won’t respond to your commands:
- Unresponsive Touch: Parts of or the entire screen no longer register your touches.
- Ghost Touches: The screen acts on its own, opening apps or swiping without your input.
- Black Screen with Sound/Vibration: Your phone seems on (you hear sounds or feel vibrations), but the screen is black. This usually means the display has failed, even if the phone’s internals are working.
- Backlight Failure: The screen is extremely dim, but you can faintly see images when shining a bright light on it. This means the display’s backlight has failed.
If your Samsung Galaxy A70 is exhibiting any of these symptoms, especially after a drop, it’s highly likely that a full screen replacement is needed to bring it back to life.
DIY vs. Professional Repair: Making the Right Choice
When faced with a broken Samsung Galaxy A70 screen, you have two main paths: a DIY Samsung Galaxy A70 screen replacement or a professional repair from our skilled technicians. Both have their merits, and the best choice depends on your comfort level, budget, and desired outcome.
Let’s weigh the options:
| Feature | DIY Screen Replacement | Professional Screen Replacement |
|---|---|---|
| Cost Savings | Potentially lower, as you only pay for parts (typically $12.00 to $114.95 for the part itself). | Higher upfront cost, but includes labor and often a warranty. |
| Technical Skill | Requires moderate to advanced technical skills, patience, and attention to detail. | No technical skill required from you; performed by experienced technicians. |
| Time Commitment | Can take 1-3 hours, plus time for part sourcing and troubleshooting. | Often completed same-day, sometimes in a few short hours. |
| Risk of Damage | High risk of damaging other components (battery, flex cables, frame) if inexperienced. | Minimal risk to you; technicians are trained to handle delicate components. |
| Part Quality | Varies greatly depending on your source; can range from low-quality aftermarket to OEM-grade. | Reputable services use quality parts, often OEM-equivalent or approved. |
| Warranty | Typically none on your labor; part warranty depends on the seller. | Most professional repairs come with a limited warranty (e.g., 1-year). |
| Tools Required | Purchase or acquire specialized tools (heat gun, prying tools, screwdrivers, etc.). | Technicians have all necessary professional-grade tools. |
| Expertise | You are the expert; relies on following guides precisely. | Benefit from certified technicians with extensive experience. |
| Convenience | Flexible schedule, but can be frustrating if issues arise. | Drop off your device and pick it up when ready. |
The DIY route means taking on all responsibility and risk. While parts for a Samsung Galaxy A70 screen replacement cost between $12.00 and $114.95 online, you must also factor in the cost of specialized tools and the several hours a complex repair can take.
On the other hand, professional repair services offer peace of mind. Our experienced technicians in Laurel, Hattiesburg, Jackson, and Jones County, Mississippi, are well-versed in these repairs. We use high-quality parts, and our work includes a warranty. Most Samsung Galaxy A70 screen replacement jobs are completed the same day, often in a few hours. We also provide free diagnostics, so you know the cost before any work begins.
Your Guide to a DIY Samsung Galaxy A70 Screen Replacement
If you’re feeling adventurous and decide to tackle the Samsung Galaxy A70 screen replacement yourself, we’re here to guide you. While we recommend professional service for this complex repair, we understand the desire to learn and save money. Patience and precision are key!

The DIY process involves careful disassembly, component transfer, and reassembly. It’s not a simple swap, but with the right tools and a detailed guide, it’s achievable.
Tools and Parts Needed for the Repair
To perform a successful Samsung Galaxy A70 screen replacement, you’ll need specific tools. Using improper tools can cause more damage.
Here’s a list of essential tools and parts you’ll typically need:
- Phillips PH00 Screwdriver: For the fourteen 4.0 mm-long screws securing the midframe.
- Opening Picks (Plastic or Thin Metal): To separate glued components and slice through adhesive.
- Spudger (Plastic Prying Tool): Essential for disconnecting delicate flex cables without causing damage.
- Suction Cup: To create a gap between the screen or back cover and the frame.
- Heat Gun or iOpener: Heat is vital for softening the strong adhesive. A hair dryer on low can also work. Be careful not to overheat the device.
- Tweezers: Useful for handling tiny screws and cables.
- Replacement Adhesive: New pre-cut adhesive strips or strong double-sided tape to re-seal the phone.
- Isopropyl Alcohol (>90%): For cleaning old adhesive residue to ensure a strong bond.
- Replacement Screen: Ensure it’s compatible with your Samsung Galaxy A70 (model A705FN/DS).
Choosing the Right Screen: With Frame vs. Without
One of the most important decisions is whether to get a screen “with frame” or “without frame.” This significantly impacts the repair’s difficulty.
- Screen Without Frame (Screen Only): This cheaper option is just the glass and display panel. It’s more challenging as you must separate the old, broken screen from its frame and adhere the new one, increasing the risk of damage during installation.
- Screen With Frame (Screen Assembly): This option includes the display and a new midframe. Though more expensive, it greatly simplifies the repair by avoiding the difficult screen separation step. You simply transfer your phone’s internal components into the new assembly. This is the recommended choice for most DIYers.
OLED vs. LCD: The original A70 has a vibrant AMOLED display. When buying a replacement, you’ll find both types.
- OLED (AMOLED): These match the original screen’s quality with vibrant colors and deep blacks but are more expensive.
- LCD: These cheaper alternatives will function but may lack the visual quality of the original.
OEM Parts vs. Aftermarket Parts:
- OEM (Original Equipment Manufacturer) Parts: Made by or for Samsung, they offer the best quality and compatibility but are the most expensive and hardest to find.
- Aftermarket Parts: Made by third-party companies. Quality varies widely, from high-grade parts that perform close to OEM to lower-quality ones that may affect color, brightness, or touch response. Always check seller reviews.

Key Steps for a DIY Samsung Galaxy A70 Screen Replacement
Performing a Samsung Galaxy A70 screen replacement is a multi-step process. This is a simplified overview. We strongly recommend following a detailed visual guide, like the Samsung Galaxy A70 Screen Replacement guide on iFixit, before you begin.
- Safety First: Power Off and Discharge Battery: Switch off your device. It’s recommended to discharge the battery below 25% before starting to reduce the risk of fire if the battery is accidentally punctured.
- Remove the SIM Tray: Use a SIM eject tool to remove the SIM card tray.
- Remove the Back Cover: The A70 has a plastic back. Apply heat to soften the adhesive, use a suction cup to create a gap, then insert opening picks to slice through the adhesive around the perimeter.
- Remove the Midframe: Unscrew the fourteen 4.0 mm-long Phillips screws securing the midframe. Then, use an opening pick to carefully unclip it from the phone assembly.
- Disconnect the Battery: Use a plastic spudger to gently pry the battery connector straight up from the motherboard.
- Remove the Old Screen: This is a delicate step. Apply heat to the front of the screen to soften the adhesive. Use a suction cup and opening picks to carefully slice the adhesive around the edges. Be extremely careful near the front camera and flex cables. Once free, thread the display cable through the frame to remove the old screen.
- Prepare the New Screen: If using a screen without a frame, you may need to transfer small components (like the earpiece speaker) from your old screen. Clean old adhesive from the frame with isopropyl alcohol.
- Install the New Screen: Connect the new screen’s flex cable. Apply new adhesive to the frame and gently set the new screen into place, ensuring it’s aligned.
- Reassembly: Reconnect the battery. Reinstall the midframe and all its screws. Reattach the back cover with new adhesive.
- Test Before Final Seal: Before sealing the back cover, power on the phone and test the new screen’s functionality (touch, display, colors). Use the diagnostic menu by dialing
*#0*#in the phone app.
Important Warnings Before You Start Your Repair
A DIY Samsung Galaxy A70 screen replacement can be rewarding, but it comes with significant risks. Be fully aware of the potential pitfalls before you begin.
-
Battery Safety is Critical:
- Discharge Below 25%: Always discharge your phone’s battery below 25% before starting. Lithium-ion batteries are volatile.
- Puncturing Risk: Puncturing the battery can cause it to swell, overheat, or even catch fire. Never use sharp metal tools to pry at it. If you see a swollen battery, stop the repair and seek professional help immediately; they are extremely dangerous.
- Heat Damage: While heat is needed to loosen adhesive, never apply it directly to the battery.
-
Heat Damage to AMOLED Displays: Your Galaxy A70’s AMOLED display is sensitive to excessive heat. Too much heat can permanently damage it. Apply heat evenly and in short bursts.
-
Damaging Flex Cables: Your phone contains numerous delicate flex cables that are easily torn. Always use plastic spudgers when working near connectors and pry gently.
-
Loss of Water Resistance: Opening the phone breaks the factory water-resistant seals. Without new, high-quality adhesive, your phone will lose its water resistance and become vulnerable to liquid damage.
-
Deformed Frame Issues: Installing a new screen into a bent frame can cause the new display to crack or malfunction. If your frame is deformed, it’s best to use a replacement screen that includes a new frame or seek professional help.
-
Test Before Sealing: After installing the new screen but before re-adhering the back cover, power on your phone and thoroughly test all functions. It’s much easier to fix an issue before the phone is completely sealed up.
Frequently Asked Questions about the Samsung Galaxy A70 Screen Replacement
We often hear similar questions from customers considering a Samsung Galaxy A70 screen replacement. Let’s address some of the most common ones.
How much does a Samsung Galaxy A70 screen replacement cost?
The cost varies significantly depending on the repair path and parts used.
- DIY Parts Cost: The replacement part itself can cost anywhere from $19.00 to $115.00, depending on quality and whether it includes a frame. This price doesn’t include specialized tools you may need to buy.
- Professional Repair Cost: This includes the part and labor. We offer competitive pricing and provide a free diagnostic with a transparent quote before any work begins, so you know the exact cost upfront.
Factors impacting the cost include:
- Type of Screen: OLED (AMOLED) screens are more expensive than LCDs.
- With or Without Frame: Screens with a new midframe cost more but simplify the repair.
- Part Quality: OEM-grade parts are at the higher end; aftermarket quality varies.
- Labor Charges: This covers the technician’s expertise and time.
Can I replace just the glass on my A70?
While it seems appealing, we advise against replacing just the glass for DIYers.
Here’s why:
- Digitizer Fusion: The A70’s outer glass, touch digitizer, and AMOLED display are a single fused unit.
- High Difficulty and Special Equipment: Separating the glass requires specialized equipment and expert skill to avoid damaging the delicate AMOLED panel. It’s a difficult, high-risk process that is not recommended for DIY repair.
- Risk of Damage: Attempting this separation carries a very high risk of permanently damaging the display, which would then require a full assembly replacement anyway.
For these reasons, a full screen assembly replacement (glass, digitizer, and display) is almost always the recommended method for a reliable Samsung Galaxy A70 screen replacement.
How long does a screen replacement take?
The time required depends on who is doing the repair.
- DIY Time: For a first-timer, expect the repair to take 1 to 3 hours. This can vary based on your experience and any challenges you encounter. This doesn’t include time for sourcing parts.
- Professional Repair Time: Our skilled technicians can often complete the replacement the same day, sometimes in just a few hours. With the right tools and parts on hand, we provide a quick and reliable turnaround, often under 2 hours. We understand you need your phone back quickly and strive to provide fast service in Laurel, Hattiesburg, Jackson, and Jones County, Mississippi.
Get Your A70 Screen Replaced by the Pros
While a DIY Samsung Galaxy A70 screen replacement is possible, it’s a challenging project with many risks. Delicate components, strong adhesives, and the need for specialized tools can lead to frustration and further damage.
If you’re not comfortable with the risks, don’t have the specialized tools, or simply value your time and peace of mind, choosing a professional repair is the smartest decision.
Here at Laurel Phone Repair, we specialize in quick, affordable, and reliable phone repairs. Our experienced technicians are experts in Samsung devices, including the Galaxy A70. When you choose us for your Samsung Galaxy A70 screen replacement, you benefit from:
- Expert Technicians: Our team is highly trained and experienced in handling delicate electronics. We know the ins and outs of the A70, ensuring your repair is done right the first time.
- Quality Parts Guarantee: We use transparent part options, offering high-quality OEM-grade or approved aftermarket parts to restore your phone’s display to its original brilliance and functionality.
- Fast Turnaround: We understand you can’t be without your phone for long. Many of our screen repairs are completed as soon as the same day, getting you back to your life with minimal disruption.
- Warranty on Repairs: We stand behind our work. All our repairs come with a warranty, giving you peace of mind that your investment is protected.
- Convenient Locations: With locations in Laurel, Hattiesburg, Jackson, and Jones County, Mississippi, a trusted repair is always within reach.
Don’t let a broken screen keep you disconnected. Let our professionals handle your Samsung Galaxy A70 screen replacement with expertise and care.


 - computer motherboard repair")


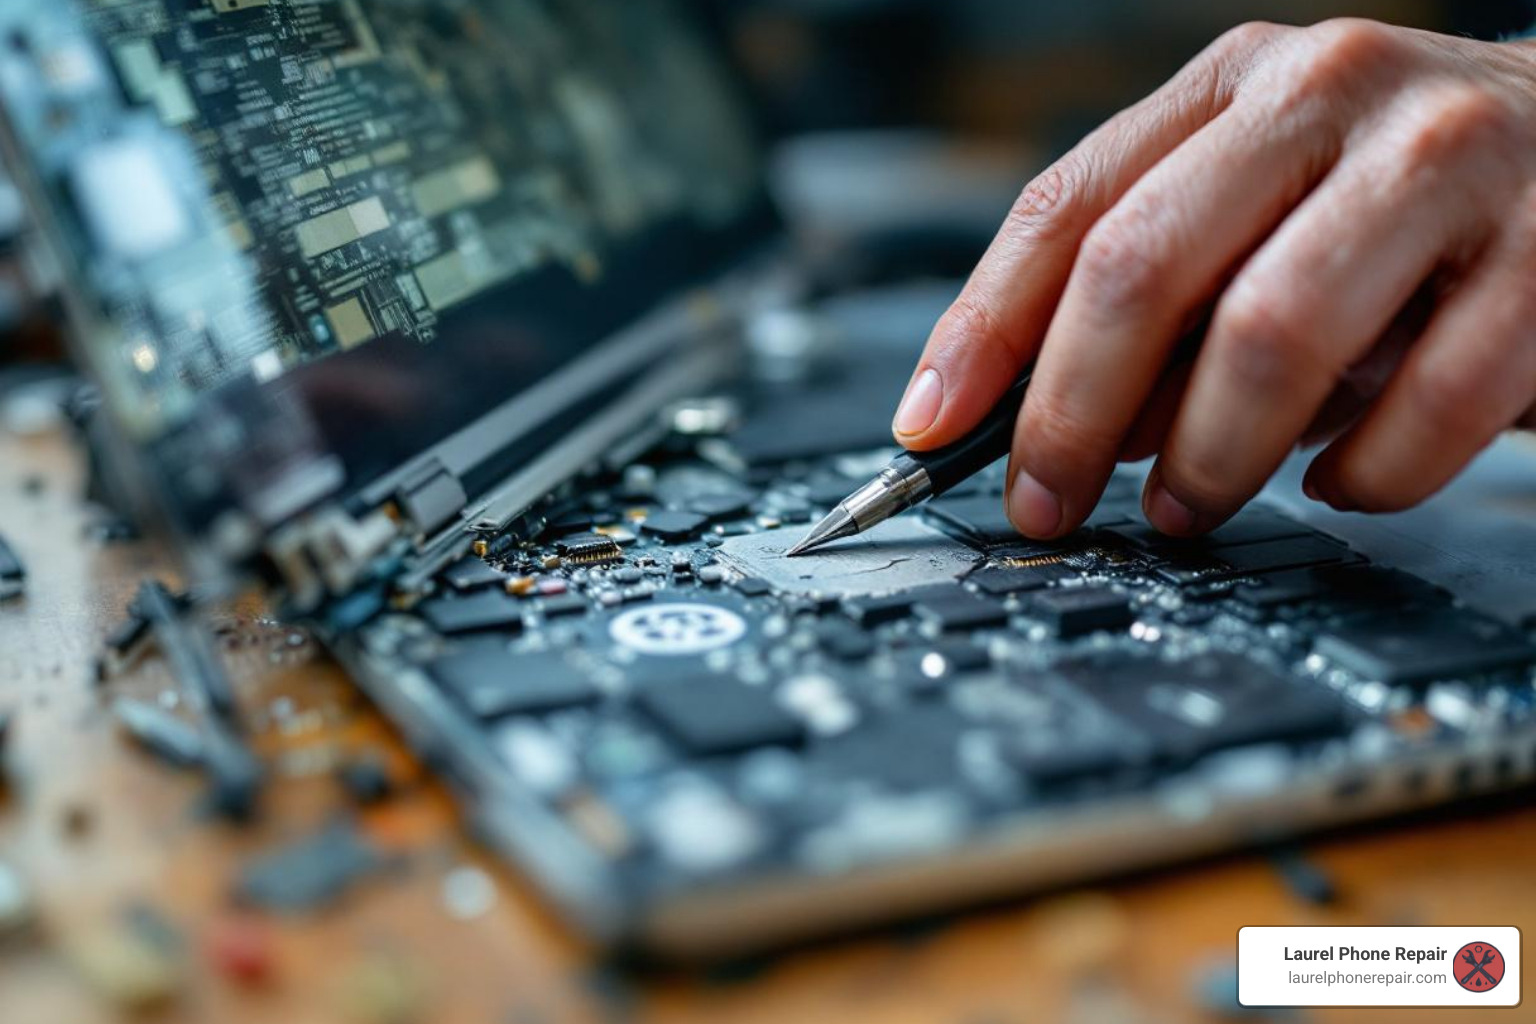


 - computer keyboard repair shop near me")

, shipping and import fees can add $25-$40, and total professional repair typically costs $50-$120 - honor 8x screen replacement price infographic")

